After purchasing my first AeroPress, I did plenty of testing to create this comprehensive AeroPress Coffee Maker Guide. An AeroPress coffee maker is an affordable piece of coffee equipment that makes a spectacular cup of coffee and is light enough to take anywhere. Learn how to fine-tune your coffee-making technique and come along on my Aeropress journey!
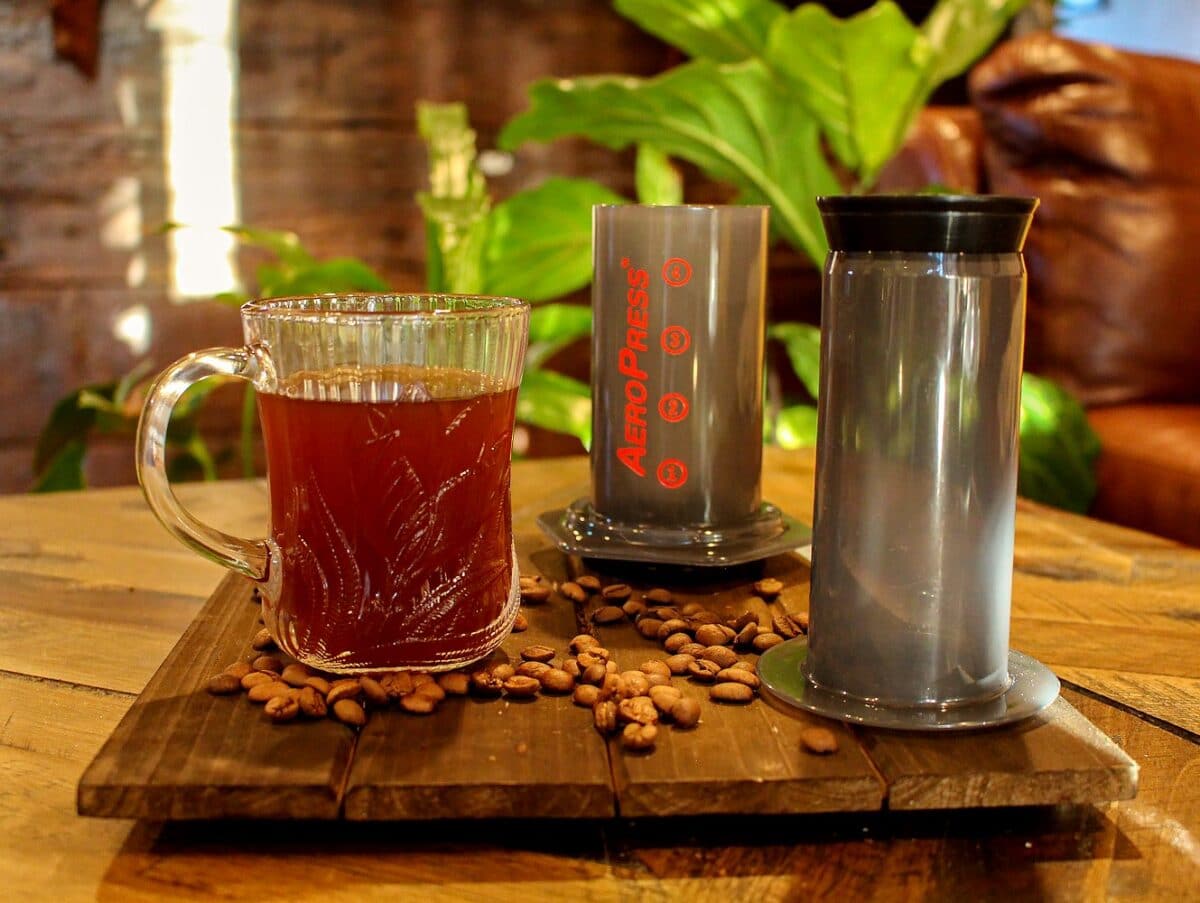
Table of Contents
I’ve been hearing the buzz surrounding the AeroPress coffee maker for a while now but never decided to get one until now.
It may seem a recent addition to the gambit of coffee-making gadgets in comparison, but the AeroPress has actually been around for more than 15 years now. Apart from it simply seeming like a fun way to shake up my morning coffee routine, many people swear by the method for making an excellent cup of coffee. After finally purchasing one for myself, I decided to take you all along on my caffeinated coffee-making journey.
To make a long story short, if you are thinking of purchasing an AeroPress, I recommend doing so. It is relatively inexpensive and makes a great cup of coffee. If you are not an avid coffee drinker or maker, however, a simpler pour-over coffee maker or French press might be better suited to you.
So, if you are interested in my trial and error process while using my new AeroPress, read on! (Spoiler alert: I made my ideal cup of coffee on my fifth try)
This is not a sponsored post.
The AeroPress
First, let’s discuss whether an AeroPress is worth its price.
At $30, this device is as expensive as any decent French Press or pour-over Chemex coffee maker. For a slightly more complex device that makes great coffee, I’d say it’s well worth the price point. Now, on to the design.

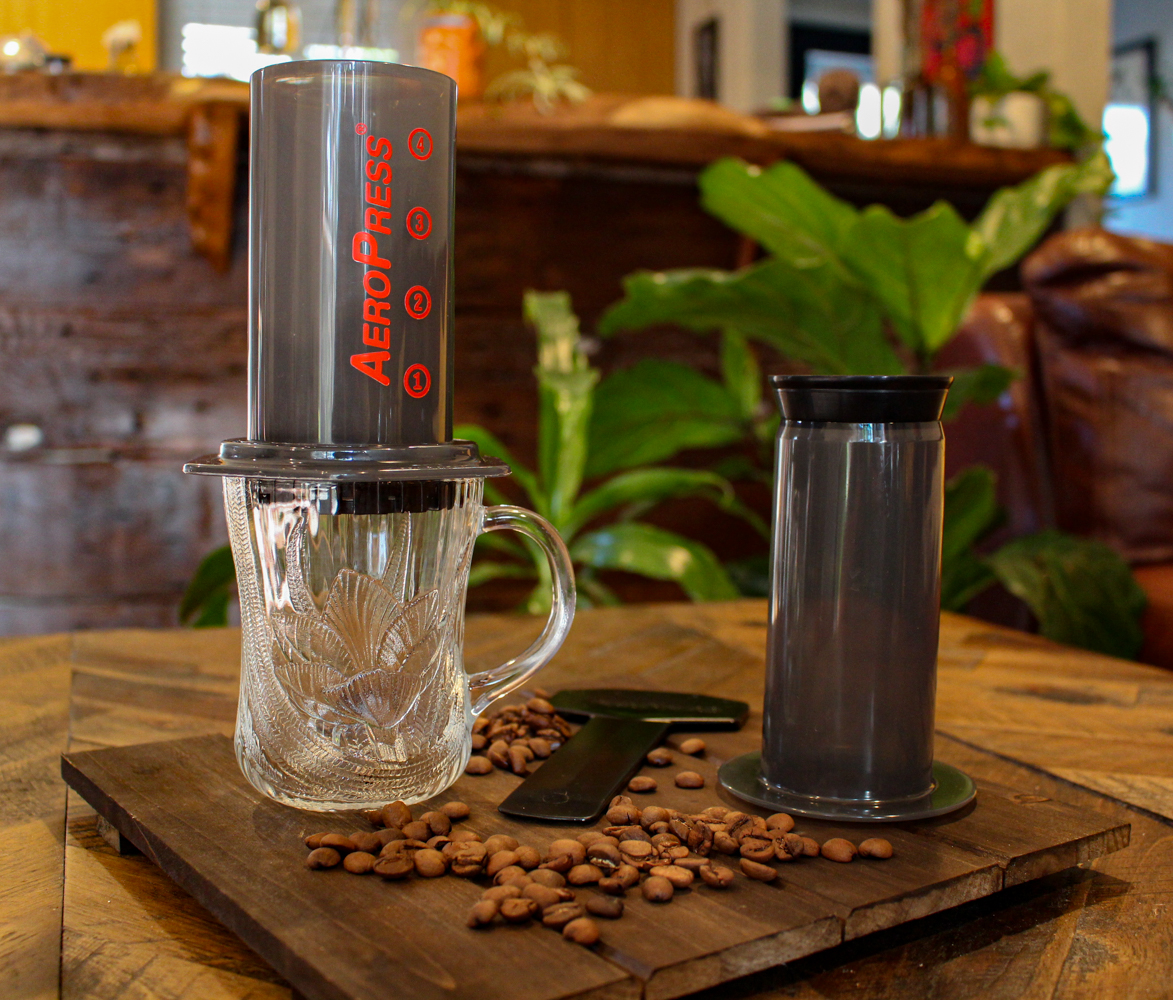
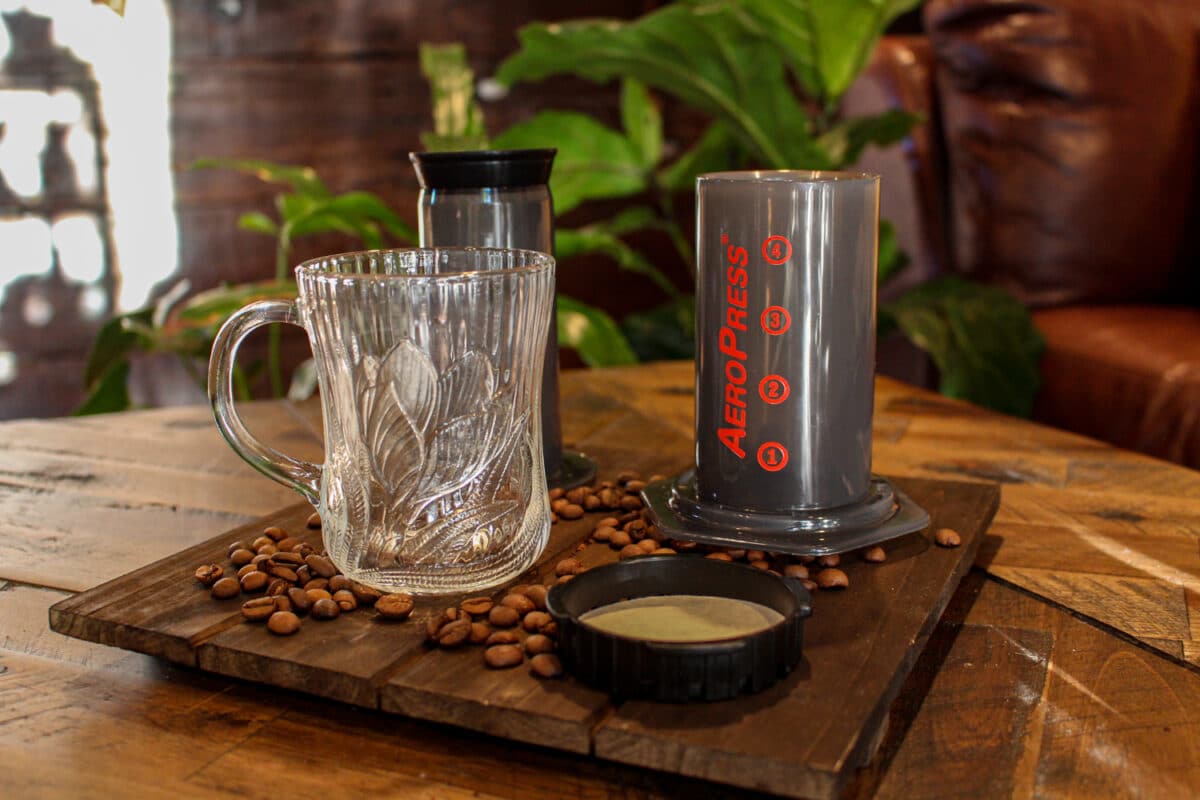
Upon opening the box, you will see a variety of parts depending on which package you bought. Mine came with the 2-piece AeroPress itself, a filter cap, paper filters, coffee scoop, flat stirrer, and finally a funnel that allows you to press coffee into a small-neck bottle. With all of these elements, it can take a moment to figure out what is what, but the overall design is fairly intuitive and straightforward.
In addition to the standard AeroPress supplies, I purchased a reusable stainless steel mesh filter from LTUR. This filter will save you money and is more environmentally sound, but may not give you as clean a cup of coffee. I’ll discuss whether I think it is actually more effective in making good coffee with the AeroPress later.
The Standard Brewing Method
Here is how to make a standard cup of coffee using an AeroPress according to Handground.com:
“The Standard method starts with the Aeropress sitting on top of a cup with the filter cap and paper filter in place. Ground coffee is poured in through the top, followed by hot water. The barista then inserts the plunger and presses the contents through the filter and into the cup below.”
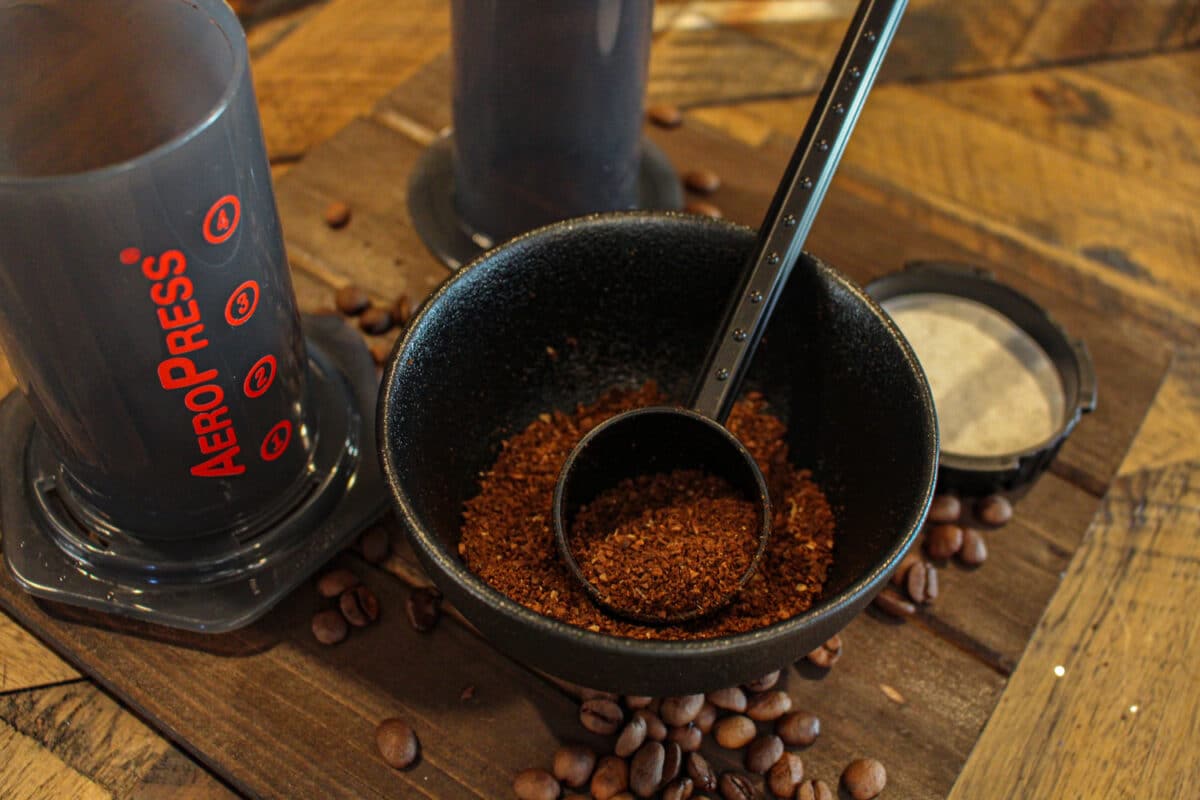
Generally, you will want a fine ground bean, about as fine as a grain of salt (I like a coarser grind). I use a Cuisinart Conical Burr Mill to grind my coffee beans, on which the numbered settings for drip coffee range from 7 to 12. During my trial and error process, I did not go outside this range. The provided AeroPress scoop holds 11.5 grams of coffee or about 2.5 tablespoons. Some baristas recommend adding as much as 17 grams of ground coffee.
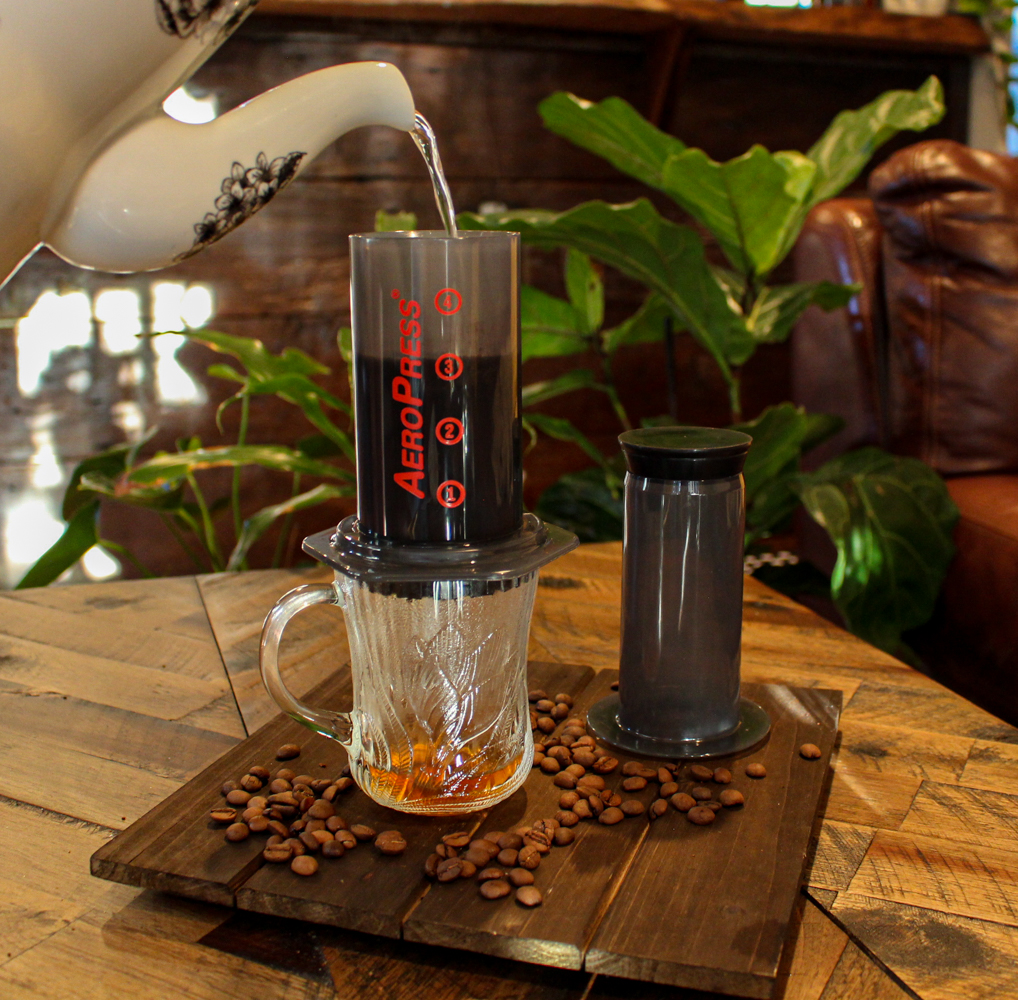
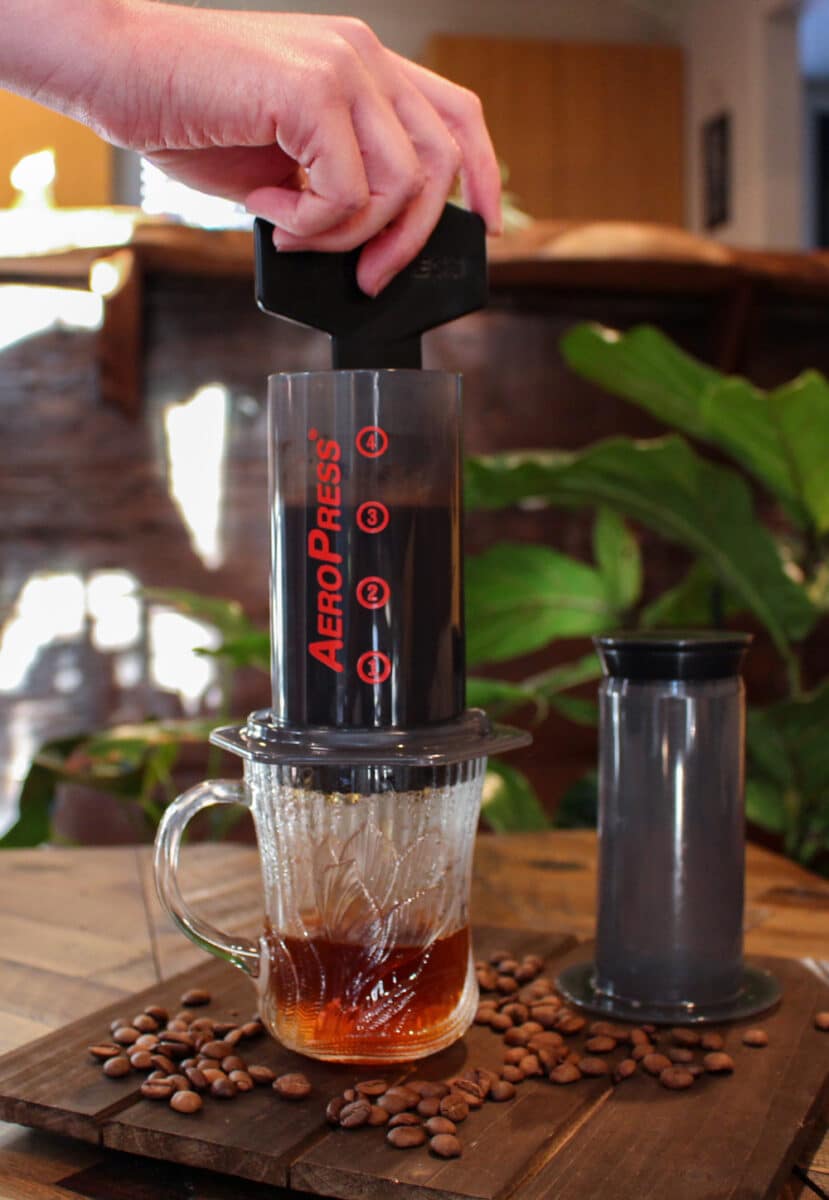
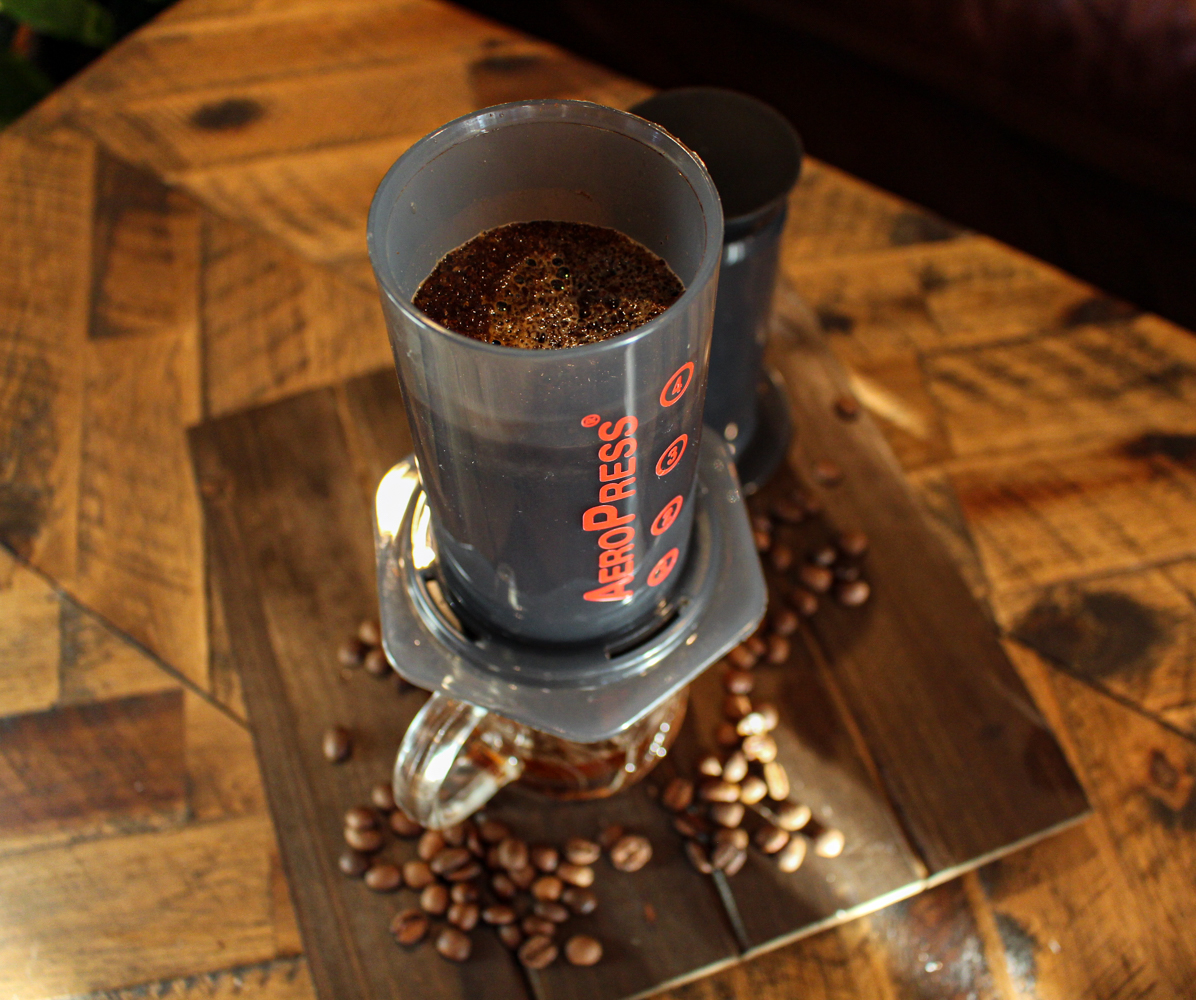
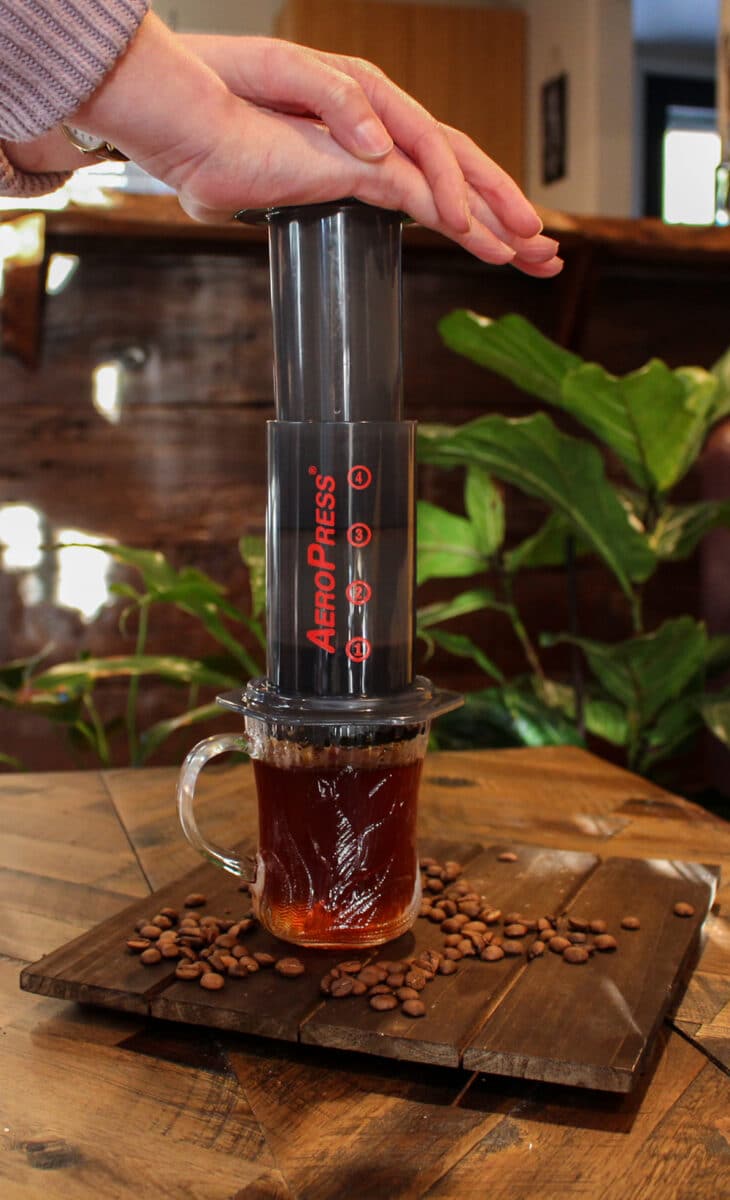
Most baristas keep their water temperature around 200-210 degrees F, and they wet the paper filter before pressing coffee through. The actual AeroPress website recommends you brew with about 175-185 degrees F water depending on the roast. Expert baristas have tweaked this standard method a thousand different ways to achieve their ideal cup of coffee. So, as with any other coffee-making method, it all depends on what makes a good cup of coffee for you.
Matt Brennan, a barista who works at the Pour Choice in Auburn, said this about AeroPress coffee:
“You are soaking the coffee in the water, teasing more flavors and character from the bean, while forcing it through a paper filter, removing the “grime” and unwanted oils that you don’t necessarily want in your cup of coffee. Therefore, making the Aeropress a cleaner cup than a French Press that uses a metal mesh filter, and a faster cup of coffee than a pour-over drip process.”
After reading the instructions and washing all of the Aeropress components, I made my first cup of AeroPress coffee.
First attempt
Filter: stainless steel mesh filter
Grind: 7 (espresso grind)
Stirring time: 10 seconds
Result: Espresso-like, very concentrated
For my first attempt, I used the stainless steel mesh filter. I boiled water in my electric kettle and ground some medium-blend coffee at the finest grind for drip. This grind is just slightly coarser than the espresso grind. I screwed on the filter cap lid with the metal filter inserted and filled the tube with a scoop of ground coffee (scoop was provided).
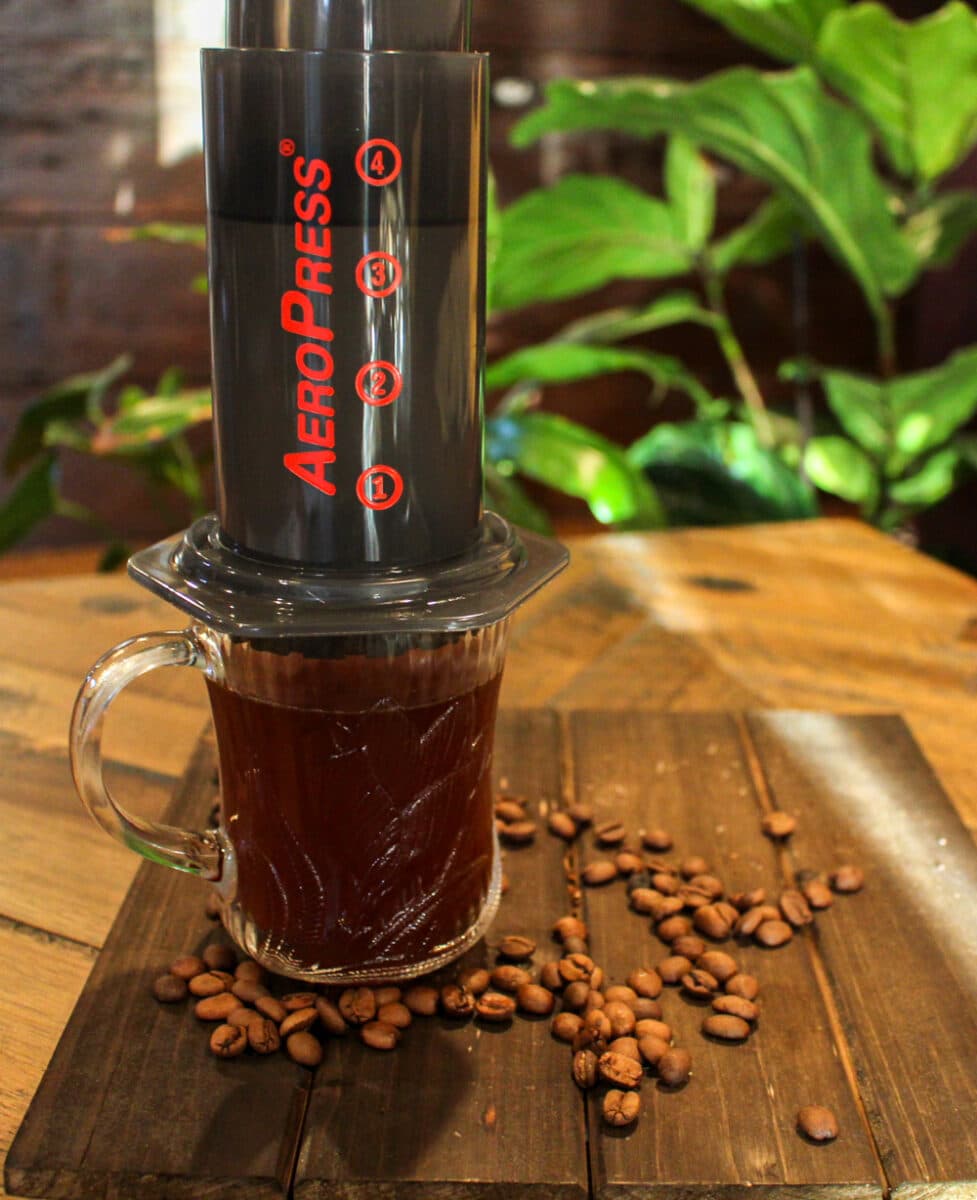
I poured in hot water up to about the 3 mark on the AeroPress, stirred the grounds for about 10 seconds, and then pressed the rest of the coffee through with the plunger. The result was a very strong cup of coffee. It tasted a lot more like an espresso shot than what I was after.
The Inverted Method
Even though I used the AeroPress normally the first time around, the company that makes the metal filter recommends using the ‘inverted method’ when making coffee with their filter.
The ‘inverted method’ is essentially an immersion brew method, with the plunger placed into the tube about a third of the way, and the whole contraption flipped upside down. You pour in the coffee grounds and water, and allow the grounds to steep in the tube as long as you choose. When you are ready to press it, you have to carefully attach the filter cap, and flip it onto your cup. The longer steep time is supposed to create a deeper, thicker cup of coffee than the Standard method.
Robin Myers from Cafe Brioso in Columbus, OH had this to say about the inverted AeroPress coffee-making process:
“Depending on the coffee being handled I will change steep time. Reduced steep time if a coffee bean has more sweetness accessible like a fruit-forward natural process. A longer steep time is used to develop balance/sweeter notes in a heavier washed coffee.”
Now, in the AeroPress instructions, they do not advise using the inverted method because the device is more unstable when flipped on its head. I did try this method with the metal filter later on and agree that the process is somewhat precarious. Suffice it to say, I do not trust myself to attempt this method first thing in the morning, as I neither have precision nor dexterity without caffeine in my system.
Second Attempt
Filter: paper filter
Grind: 7
Stirring time: 30 seconds
Result: Very strong, over-extracted
I have to admit, my trial-and-error methods are not entirely scientific. I should have known that if the first cup was too strong, using the same grind and stirring the coffee longer wouldn’t fix things. This time, stirred for the grounds for about 30 seconds and switched to a paper filter. The result was still a very strong, almost over-extracted cup of coffee.
Third Attempt
Filter: paper filter
Grind: 8
Stirring time: 30 seconds
Result: Strong, but lighter than last time
I did a few things differently this time, and the result was noticeably better. Firstly, I used different coffee; Pete’s Big Bang medium roast blend. This, and the fact that I used one level coarser grind, made the biggest difference this time. I also filled the AeroPress to the 4 mark and added a heaping scoop of coffee. I still didn’t notice any fruity notes in the coffee come through, but at least it was not espresso-dark coffee.
Fourth Attempt
Filter: paper filter
Grind: 9
Stirring time: 30 seconds
Result: Strong, but lighter than last time
This cup of coffee was still too strong for me, but closer than the last. I set the grind to one level coarser, filled the water up to the very top of the AeroPress tube, stirred for 30 seconds, and then pressed.
Fifth Attempt
Filter: paper filter
Grind: 11
Stirring time: 30 seconds
Result: Medium-strength cup of coffee with fruity notes
Admittedly getting impatient with myself, I skipped a grind level and went all the way to an 11, one level below the type of grind you would use for a French press. With the coarser grind, a heaping spoonful of coffee, and stirring for 20 seconds, I ended up with my ideal cup of coffee!
There you have it! If you prefer a lighter cup of coffee, go for a coarser grind and stir for about 20 seconds.
AeroPress Review
After achieving an ideal cup of coffee with a paper filter, I did try using a metal filter with the inverted method. The coffee tasted ok, but a bit strong (as expected). As I mentioned before, this method somewhat complicates things and I’d much rather just use a paper filter with the normal brewing method.
Overall, I enjoy making coffee with an AeroPress. I’ve been using it for about a month now, and it has become my go-to coffee-making device. Although slightly more complicated than a French Press or pour-over device, it is still easy enough to make when I am caffeine-deprived. I adjusted my grind, stirring time, and coffee blend to achieve an ideal cup for myself, but your AeroPress trial-and-error process will likely be different from my own. Different coffee may also require using a different grind.
I think it’s safe to say that most people looking to purchase an AeroPress have experience using most other methods, so the trial-and-error process will be more fun than it is tedious.
The Upsides
- You get a very clean, strong cup of coffee.
- It’s lightweight, so you can bring it with you on trips or camping.
- Brings out the fruity notes in a cup of coffee.
- It’s a fun method of making coffee and a great way to shake up your coffee routine.
The Downsides
- You can only make one cup of coffee at a time unless you make a very concentrated cup and add water after.
- There are more components to the device, which makes it a tad more complex than making pour-over or french press coffee.
- Traditionally used for making a concentrated espresso-like cup of coffee.
Pro Tip: You can buy replacement plunger rubbers and chambers. Doing so yearly helps to minimize the plasticizers escaping into our brews.
AeroPress Coffee Maker FAQs
Is an AeroPress better than a French Press?
Depends on who you ask. An AeroPress gives you a darker, more espresso-like cup of coffee while French press coffee is lighter and lets all the oils (good and bad) come through. You normally only press a single cup of coffee in an AeroPress, and it is slightly more complicated than a French press, but you are able to get a cleaner cup of coffee with the paper filter.
Is an AeroPress worth the price?
Yes, if you are already an avid coffee maker and love a strong cup of coffee, this device is worth the price. It is also easy to take with you camping or traveling.
What is AeroPress coffee?
An AeroPress is a manual coffee-making device that makes a concentrated espresso-like cup of coffee.


