In order to stay productive, I wanted to research and find the best external monitor for MacBook Pro content creation usage. Learn when you should consider 1440 versus 4k – Protip, its the 5k, the right connectivity accessories, and everything else to help you make an informed decision when buying a high quality monitor.
Want to skip all the reading and just buy the best? Here you go!
Table of Contents
Whether you are a fellow content creator, in the music industry, or some other visual artist, you know having a big monitor or two is absolutely essential. And there are plenty of other uses that greatly benefit from a superb external monitor that aren’t even in my awareness.
Over the years, I’ve experimented with different monitor setups. I’ve used a single monitor, multiple monitors, up to three at one point, and back down to one widescreen.
While I love the 16″ screen while on the go, I’m truly at my best when at my home office with a 32 to 38 inch monitor to edit photos and video on. My current monitor is a 34″ Dell Curved UltraSharp. This article is meant to serve as both a guide to others trying to figure out what to buy, as well as a wishlist for myself for my own upgrades.

Choosing an External Monitor
A big part of discovery for narrowing down a list of potential external monitors for the MacBook Pro included reading through multiple subreddits for photography, videography, and Apple.
I watched YouTube video reviews of many of the monitors mentioned by people using them professionally, and cross-referenced written articles by reputable outlets.
At the time of writing this, I was in the market for purchasing a new external monitor for my 2021 MacBook Pro 16″, which I used to help figure out the best options available.
All monitors listed will have exceptional color quality, color grading, and photo or video editing capabilities. If reading those specs are more important to you, links are provided to all spec sheets.
In order to best match an external monitor with the 2021 MacBook Pro, I wanted a monitor that could handle a 120 Hz refresh rate to better batch the quality of the laptop display.
There is something about monitor screen sizes you should know that not many companies will tell you. LCD panels are manufactured at specific sizes and ratios, then cut down for a great selection. The best deals and prices will come from sizes that are the most easily bulk produced. Having a little flexibility on your screen size when shopping can help you find better deals and also screen quality in general.
You’ll notice as you browse the different models each of the below manufacturers have available, they stick to specific sizes with not too much variance on these higher end display. The panel manufacturing process is why.
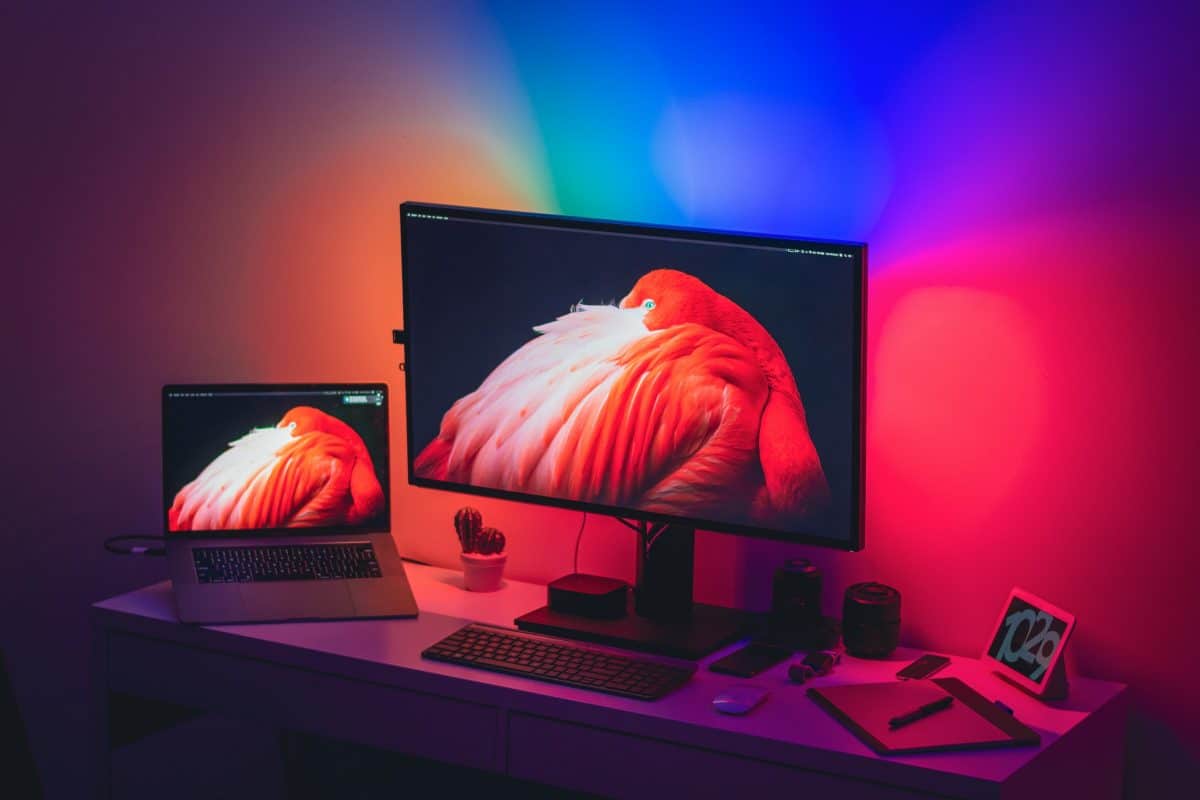
So what size should you actually get? Well, whether you are choosing between something around 24″ or going to the 36″ or even over 40″, you’ll need to determine your work style. Do you want to use both your MacBook Pro and an external monitor or two, to split your workspace up, or do you want it all on one?
I’ve gone both routes, and I have migrated back to just one big display. From my own personal, ADHD driven experience, keeping it on one allows me to easily hide distractions, such as Slack, Discord, etc behind productivity windows. I found when I had multiple monitors, I essentially spent nearly $500 to have a chat feed. But that’s just me.
4k vs 1440 Monitors
In comparing research to other forum and community discussions, it seems the consensus is if you are buying an external monitor for your Macbook Pro that is 27″ or smaller, you will be better off sticking with 1440. If your monitor is 32 inches, you could safely go either direction. Above 32″ and you’ll greatly benefit from running a 4k monitor natively.
Whichever option you end up buying – keep it native for better performance and the sharpest of text.
Overall, for DPI averages on monitors, these are breakpoints to follow:
- 24 inches = 1080
- 27 inches = 1440
- 32 inches = 4k
Evaluate the viewing distance from you to the monitor – the closer you sit, the more PPI your vision will benefit from.
Monitor Resolution versus Size Guide
Different monitor resolutions look the best in different size ranges, for DPI and text clarity.
The physical size of pixels matters as well. For example, if you get a 32in 1440p monitor and compare it to a 24in 1080p monitor, the physical size of the pixels is about the same. If you sit the same distance from the monitors. You would not notice a difference between the images. Other than one being larger. Text for example would appear the same quality. Because the physical pixel used to render it is the same size between the two monitors.
This is the same situation when you compare a 24in 1080p and a 32in 1080p. In my opinion 32 in 1080p is a garbage size and resolution for a monitor. 1440p is when you start to get a minimum quality back, but I prefer a thinner 1440p monitor, because it provides a higher density of pixels, and ultimately a higher image quality.
This is the exact same reason TVs have different viewing distance recommendations for different TV sizes. As the TV gets bigger, you should be sitting further away from it, to keep a relative image quality. This is less of an issue with 4k TVs.
A 27″ 1440p monitor will look way better than a 24″ 1440p monitor.
√(1920²+1080²)/24=91,8 ppi
√(2560²+1440²)/34=86,4 ppi
√(2560²+1440²)/32=91,8 ppi
So 24″ 1080p and 32″ 1440p has the same pixel density
2021 MacBook Pro Display
- Screen Size: 32″
- Panel: TFT IPS active-matric LED-backlit LCD
- Resolution: 6k 6016 by 3384 pixels (20.4 million pixels) at 218 pixels per inch
- Aspect ratio: 16:9
- Brightness: 1000 nits XDR, 500 nits SDR
- Refresh Rates: 47.95 Hz, 48.00 Hz, 50.00 Hz, 59.94 Hz, 60.00 Hz
- Viewing Angle: 89º left, 89º right, 89º up, 89º down
- Price: $4600 with standard glass or $5600 with Nano glass
32″ Apple Pro Display XDR
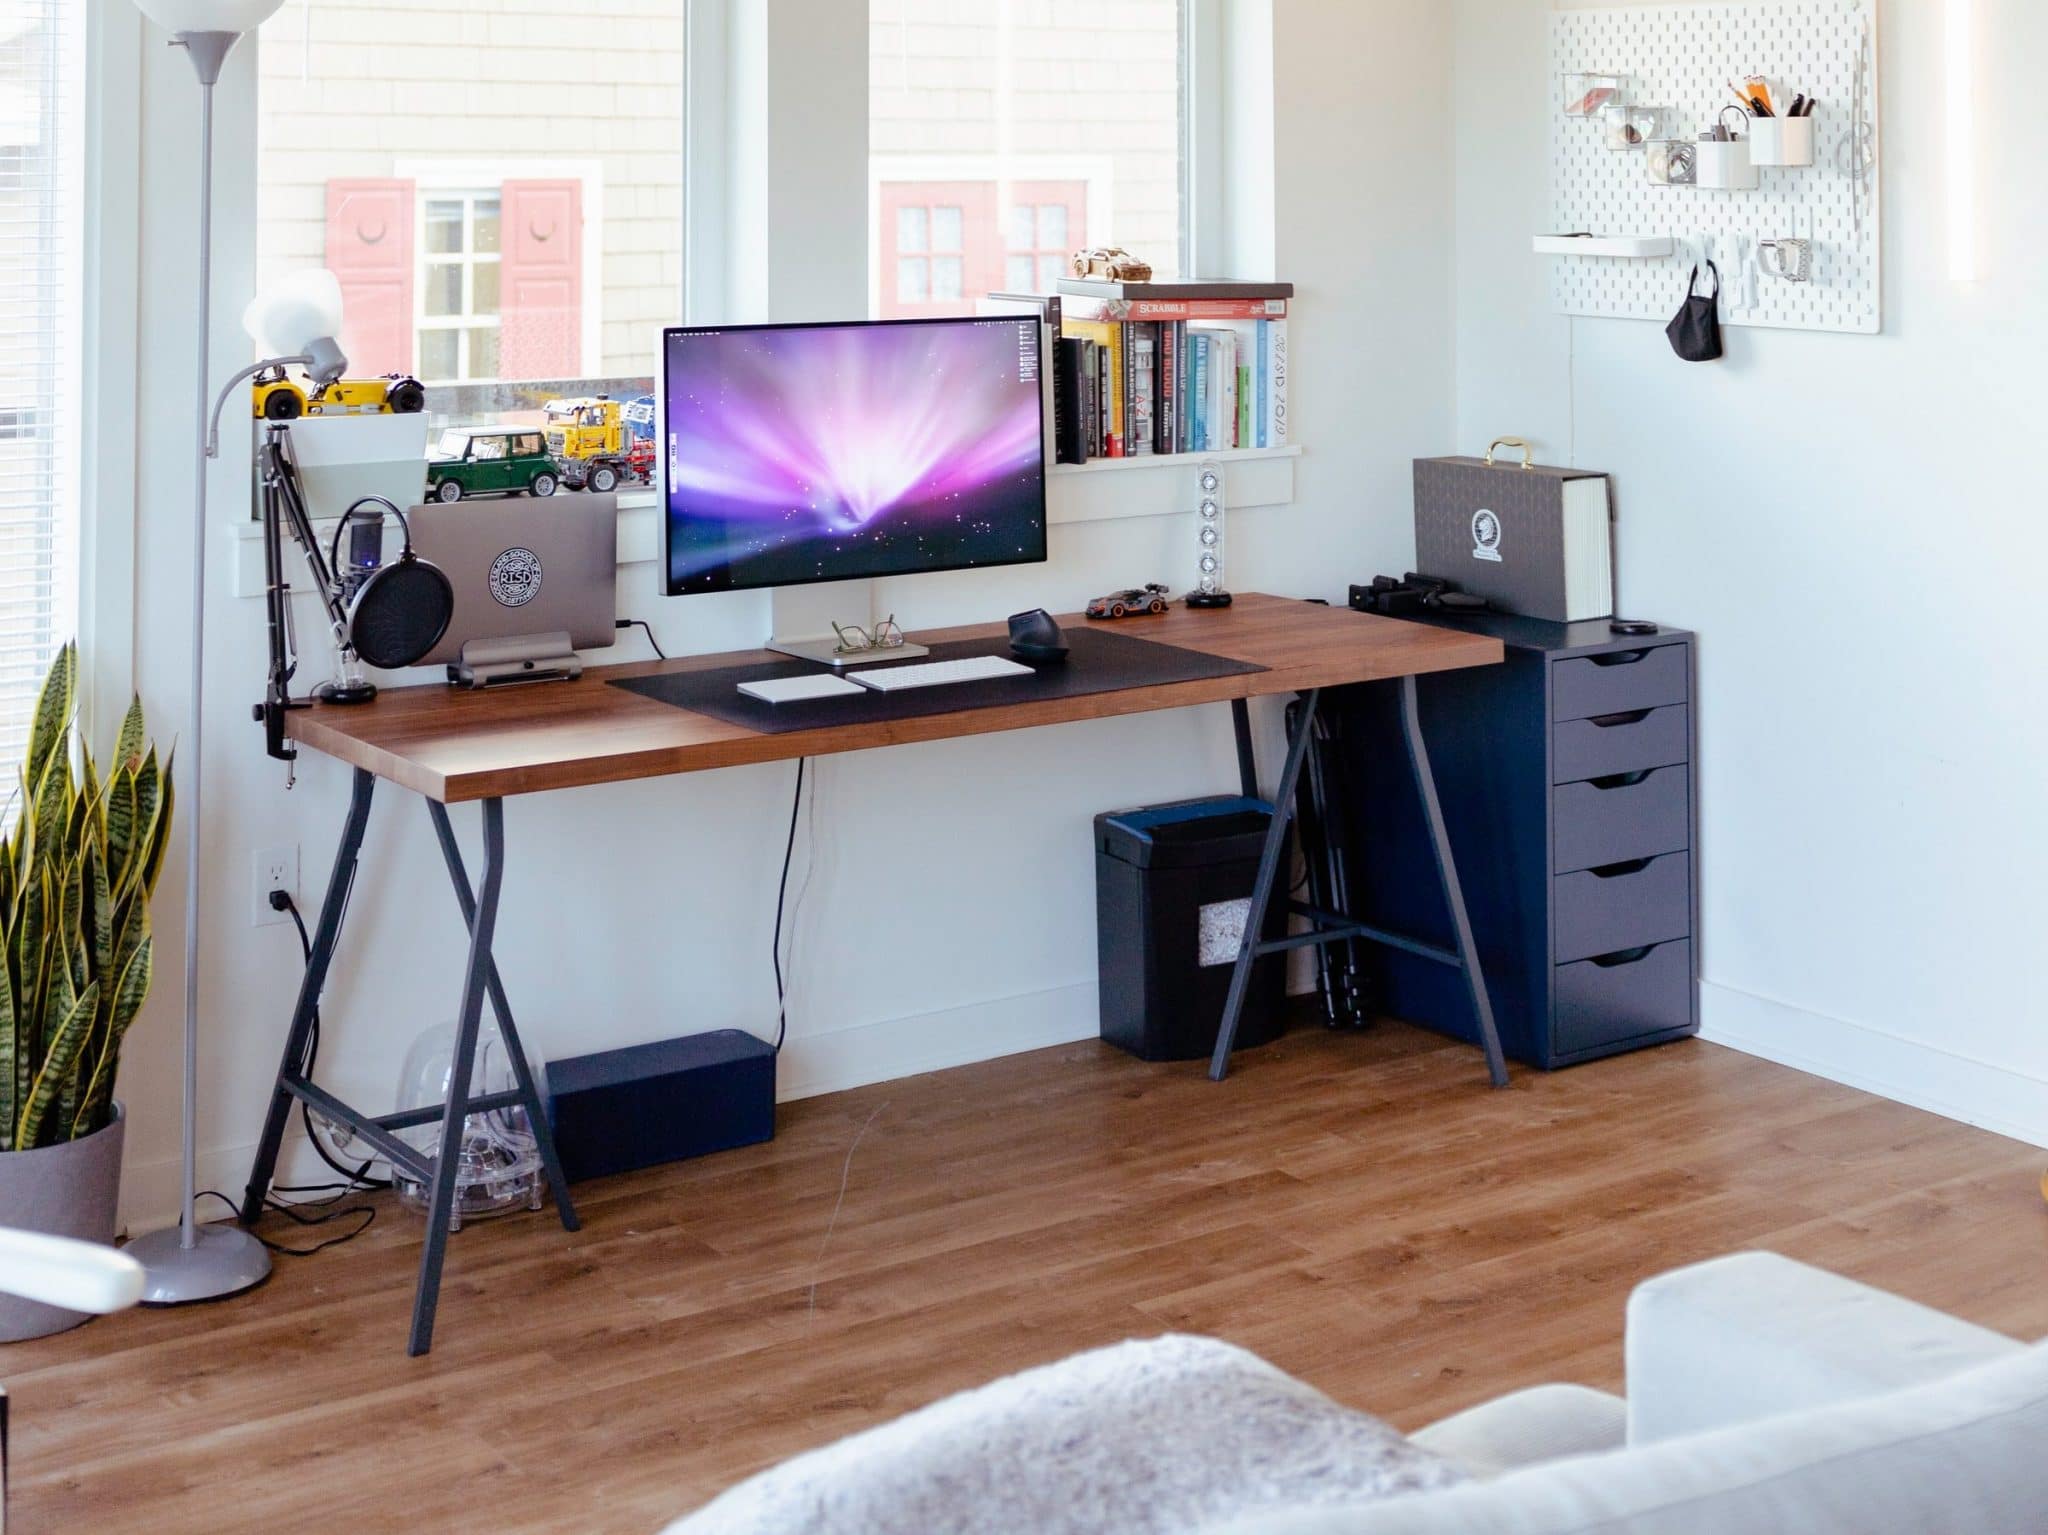
Ports on this display include 3× powered USB-C ports for peripheral devices (USB 3.2 Gen 1 for Macs with a GPU supporting Display Stream Compression; otherwise USB 2.0) and 1× 96 W powered Thunderbolt 3 (USB-C) port supporting DisplayPort 1.4.
- Screen Size: 32″
- Panel: TFT IPS active-matrix LED-backlit LCD
- Resolution: 6k 6016 by 3384 pixels (20.4 million pixels) at 218 pixels per inch
- Aspect ratio: 16:9
- Brightness: 1000 nits XDR, 500 nits SDR
- Refresh Rates: 47.95 Hz, 48.00 Hz, 50.00 Hz, 59.94 Hz, 60.00 Hz
- Viewing Angle: 89º left, 89º right, 89º up, 89º down
- Power Delivery: 96W
- Price: $4600 with standard glass or $5600 with Nano glass
While the Pro Display XDR is beautiful, it is prohibitively expensive and only supports up to 60 Hz. It also lacks any sort of hub capabilities.
Runner up: Apple Studio Display
Asus ProArt PA32UCG

This is the best external monitor for MacBook Pro you can buy. It takes the best of every other monitor on this list, and makes it better. The amount of ports on the monitor is mindblowing, and it even supports a bunch of HDR standards, Dolby Vision, along with 10-bit color.
The downside? At over $4000, it is out of my price range. And that makes me really, really sad, cause I feel in love with this thing after watching countless reviews of this monitor and dozens of others.
If all you care about is the very best, no matter the price, this is the monitor you should choose.
A runner-up to this monitor would be the PA329C, which is $3k cheaper and will remain a competitive option compared to the rest of the list.
- Screen Size: 32″ Curved
- Panel: Mini LED IPS Non-Glare
- Resolution: 4k 3840 by 2160 pixels at 138 pixels per inch
- Aspect ratio: 16:9
- Brightness: 1600 nits HDR, 1000 nits SDR
- Refresh Rates: 120 Hz VRR
- Viewing Angle: 178º Vertical, 178º Horizontal
- Power Delivery: 60W
- Price: $4600 MSRP
Runner-up: ASUS ProArt PA329C
Alienware AW3423DW
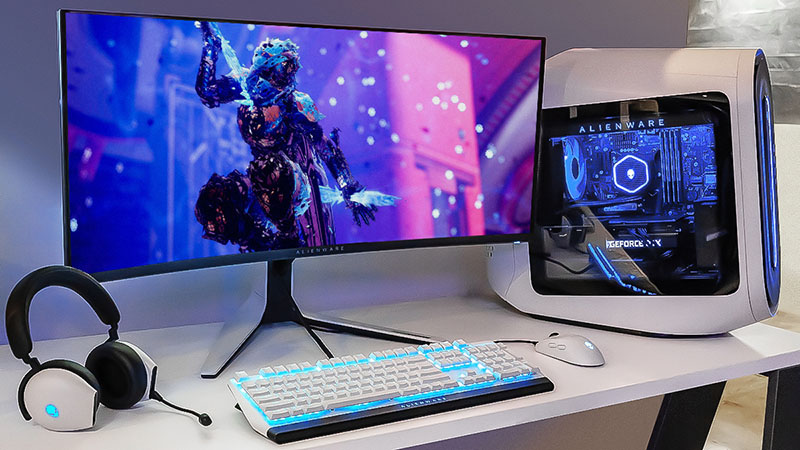
The Dell Alienware AW3423DW is based on Samsung’s OLED panel that’s enhanced with quantum dots (QD-OLED)
The AW3423DW boasts a wide 99.3% DCI-P3 color gamut in addition to ~95% Adobe RGB coverage, resulting in 149% sRGB gamut size.
It’s capable of reaching a higher 1,000-nit peak brightness and it can sustain almost 300-nits (as opposed to C1’s ~150-nits) with a 100% white window, so ABL is a lot less aggressive. Just like every OLED, the AW3423DW has an infinite contrast ratio, instantaneous response time speed and wide viewing angles with consistent colors.
While the 3440×1440 resolution is lower than 4K UHD, it actually provides a higher pixel density on 34″ sized displays at roughly 110 PPI (pixels per inch), in comparison to 92 PPI of 48″ 4K and 105 PPI of 42″ 4K displays.
Another advantage of QD-OLED technology is better burn-in resistance; Dell even offers a three-year warranty that covers burn-in.
Aspect ratio: 21:9
Brightness: 250 cd/m2 (typical) ; 1000 cd/m2 (peak)
Refresh Rates: 175 Hz
Viewing Angle: 178º Vertical, 178º Horizontal
Power Delivery: SuperSpeed USB 5 Gbps (USB 3.2 Gen1)
Price: $1300 MSRP
LG Ultrafine 34BK95U-W
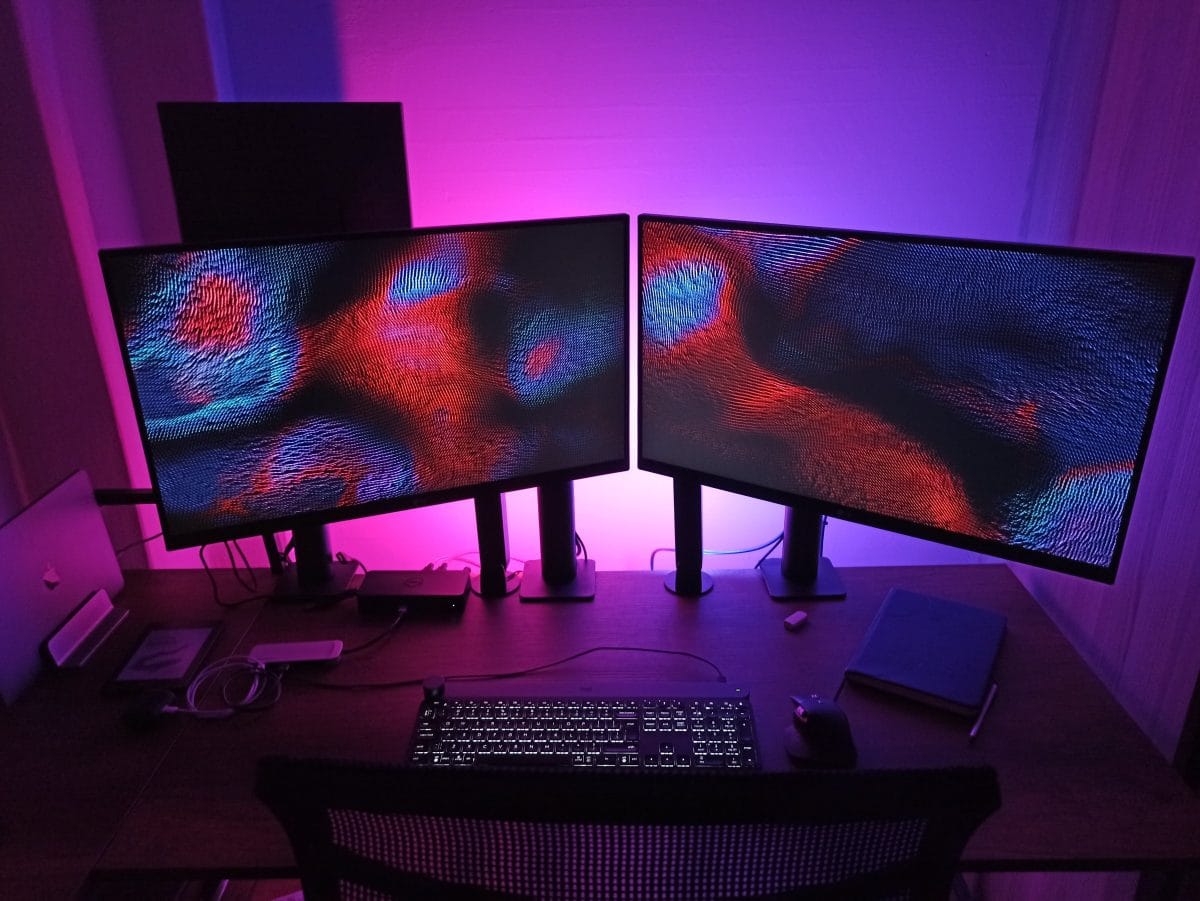
The LG Ultrafine lineup is full of excellent contenders, but if I had to choose just one from their selection, this model would be it. Capable of 5k and HDR content, the inputs/outputs include power delivery and plenty of ports: 2x HDMI, 1 USB Upstream, 1 DisplayPort, 1 Headphone Out, and 2x USB 3.
This monitor is very similar to the one Apple sells on its website, but that one is only 27 inches, and I wanted to stay above 32. The 27″ version does include power delivery, a big deciding factor for me. Unfortunately, their larger sizes don’t include this specific feature. Choosing between the larger size and foregoing power delivery would be a tough decision, but the 34″ wins out for me.
- Screen Size: 34″ Curved
- Panel: Nano IPS Anti-Glare 3H
- Resolution: 5k 5120 by 2160 pixels at 163 pixels per inch
- Aspect ratio: 21:9
- Brightness: 600 nits HDR, 400 nits SDR
- Refresh Rates: 75 Hz
- Viewing Angle: 178º Vertical, 178º Horizontal
- Power Delivery: 85W
- Price: $1500 MSRP
Runner-up: LG 27MD5KL-B 27 Inch UltraFine 5K or LG 27UP850-W 27″ 4k or LG 32EP950-B OLED
Viewsonic VP2785-4K
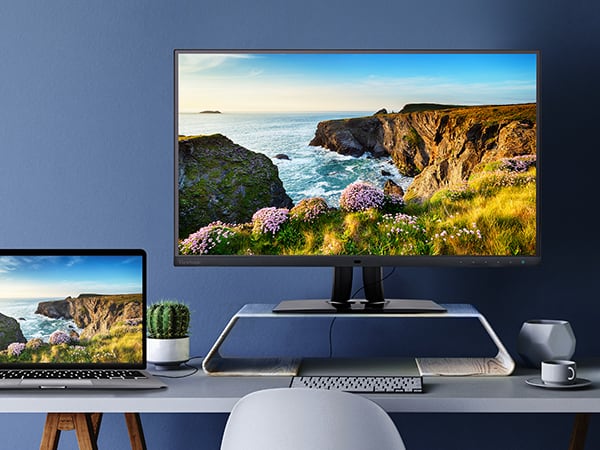
The Viewsonic Professional line of monitors have all of the basic needs of a media professional while maintaining a sleek thin bezel. If I were to go the route of multiple monitors, this is what I’d buy.
- Screen Size: 34″ Curved
- Panel: Nano IPS Anti-Glare 3H
- Resolution: 4k 3840 by 2160 pixels at 163 pixels per inch
- Aspect ratio: 21:9
- Brightness: 350 nits
- Refresh Rates: 60 Hz
- Viewing Angle: 178º Vertical, 178º Horizontal
- Power Delivery: 60W
- Price: $800 MSRP
Dell UltraSharp U4320Q
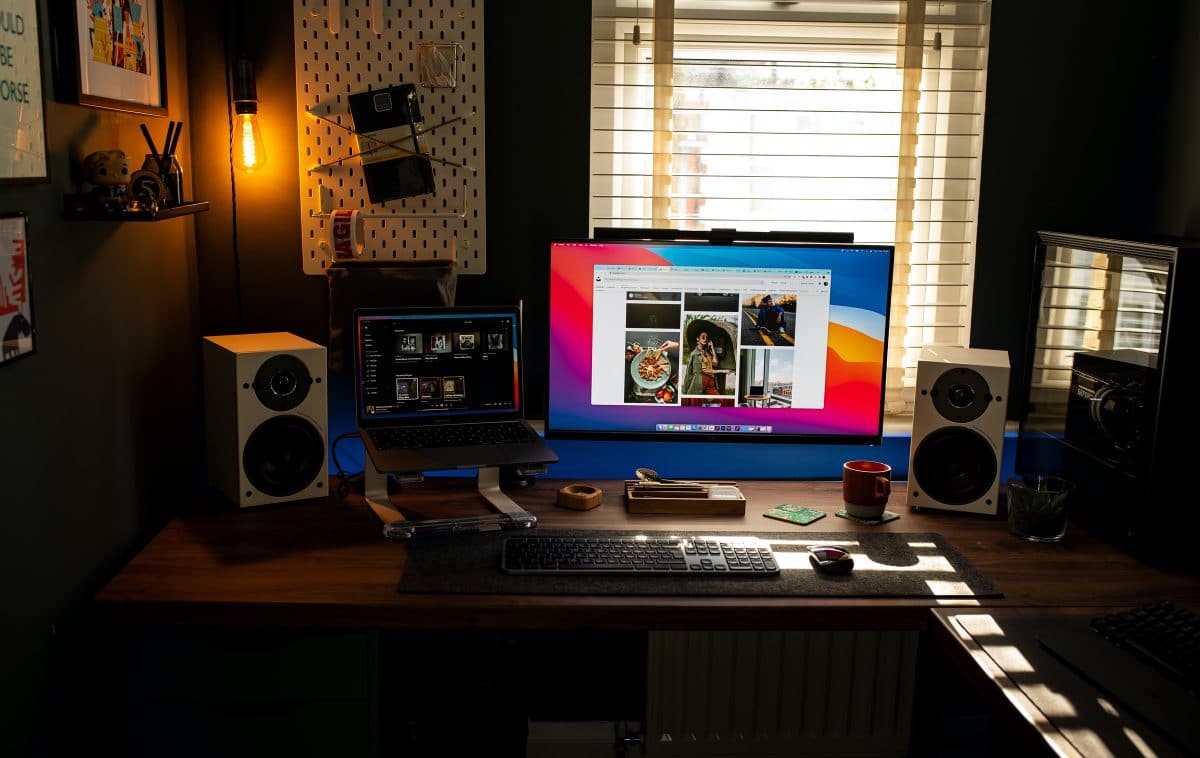
At 43″, this is the biggest monitor on the list and at a surprisingly affordable price. The nits and ppi are going to be some of the lowest, but the power delivery options are enough to charge both your laptop and phone at the same time.
- Screen Size: 43″
- Panel: LED IPS
- Resolution: 4k 3840 by 2160 pixels at 103 pixels per inch
- Aspect ratio: 16:9
- Brightness: 350 nits
- Refresh Rates: 60 Hz
- Viewing Angle: 178º Vertical, 178º Horizontal
- Power Delivery: 90W and 15W
- Price: $960 MSRP
Dell UltraSharp UP3221Q
Boasting Thunderbolt 3, USB C 3.2, the ability to daisy chain two 4k monitors, this is one of the few Mini LED display panels available.
- Screen Size: 34″
- Panel: Mini LED IPS
- Resolution: 4k 3840 by 2160 pixels at 140 pixels per inch
- Aspect ratio: 16:9
- Brightness: 1000 nits HDR, 350 nits SDR
- Refresh Rates: 60 Hz
- Viewing Angle: 178º Vertical, 178º Horizontal
- Power Delivery: None
- Price: $4000 MSRP
Dell U3417W
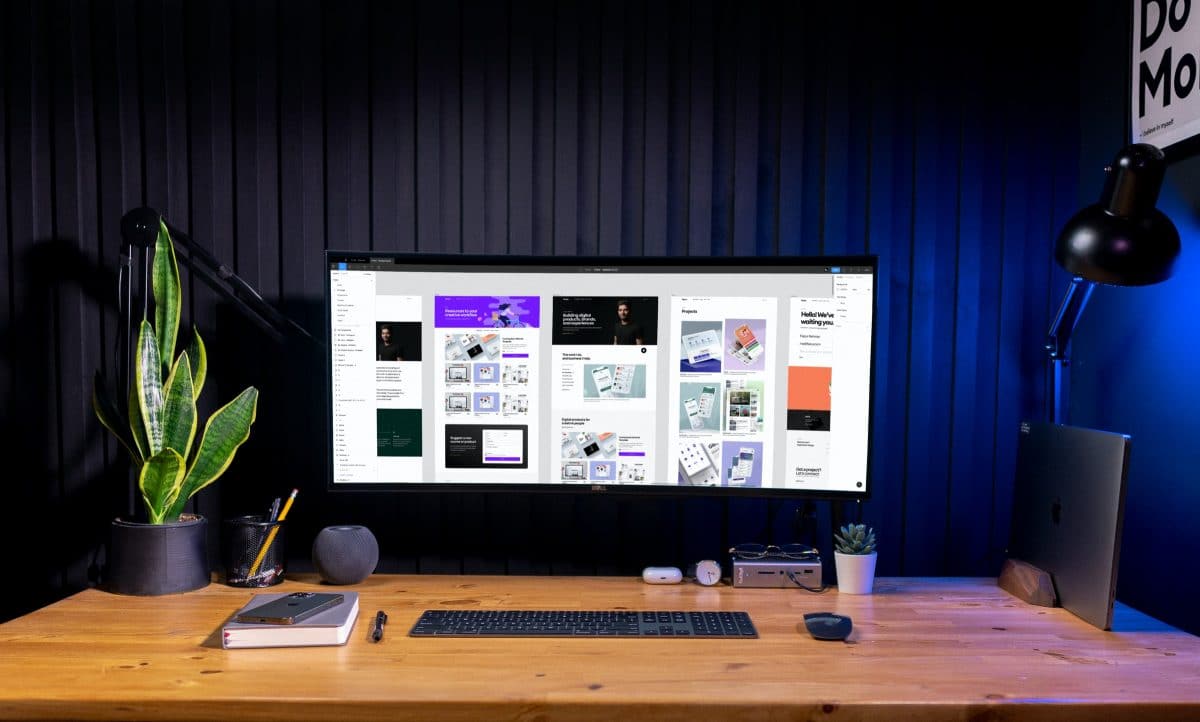
The Dell U3417W is the external monitor for my MacBook Pro 2019 I used until this year.
You might be wondering why a 4+ year old monitor is included in this review. Well, The color quality and brightness have been wonderful to work with. Despite the specs on this monitor being far inferior to everything else listed, it is still a really good tool. And thus, a reminder to myself to not get too lost in the absolute best or perfect specs.
Over time, in using this monitor, I realized I would greatly benefit from a monitor that had a built-in hub with power delivery, in an attempt to limit cords on my desk.
The hub with this monitor is very versatile, but at its age, lacking in a few things I’d like to see from a newer monitor. Things like USB-C and power delivery, as well as better aux input/output management.
The other thing I realized, once I was settled in and used to this monitor, is a curved monitor isn’t necessarily ideal for lots of photo editing and photoshop. Another justification to switch back to a flat panel display.
I did like having a curved monitor where I could position it in the corner of my desk and manage space that way.
- Screen Size: 34″ Curved
- Panel: IPS Active matrix – TFT LCD
- Resolution: 1080i 3440 by 1440 pixels at 109 pixels per inch
- Aspect ratio: 21:9
- Brightness: 300 nits
- Refresh Rates: 60.00 Hz
- Viewing Angle: 178º Vertical, 178º Horizontal
- Price: $879 MSRP, $500 or so in 2021
Monitor Accessories
When connecting your monitor to your computer, there are a couple essential things to consider. Do you use DP, USB-C, HDMI, etc?
Does the monitor and computer support DSC (display stream compression)?
Theoretically, you only need a USB 3.2 Gen 2 cable to max out the USB-C (DP Alt Mode) connection. Thunderbolt (any) to make sure that the manufacturer didn’t skimp on details. On newer non-Mac laptops, USB-C to USB-C will do 144 Hz just fine with DSC support.
However, I remember that a bunch of people on a forum weren’t able to make USB-C to USB-C work with 144 Hz with M1 MacBooks. Not because of the cables, but because the MacBook’s USB hardware apparently tried to allocate 2 out of 4 high-speed USB lanes to data, whether or not the other side was willing to negotiate it up to the full 4 lanes for video. I don’t know if Apple may have fixed this since half a year ago, or if the hardware even allows fixing, but I wouldn’t bank on it.
So if you have an M1 Mac and you want to make sure, get a USB-C to DP cable (with HBR3 bandwidth specification) and skip the data. According to other people’s reports, this should get you the full 144 Hz and beyond specifications.
HDR and VESA Certified DisplayHDR
When buying monitors that support HDR, you’re going to want to check which certification they hold, as this will help you judge quality.
For working with HDR color spaces in film or photo editing, you’re going to want to look for monitors with at least DisplayHDR 1000. DisplayHDR 400 won’t show you all the colors you need, and DisplayHDR 600 is barely passable from a professional editing standpoint.
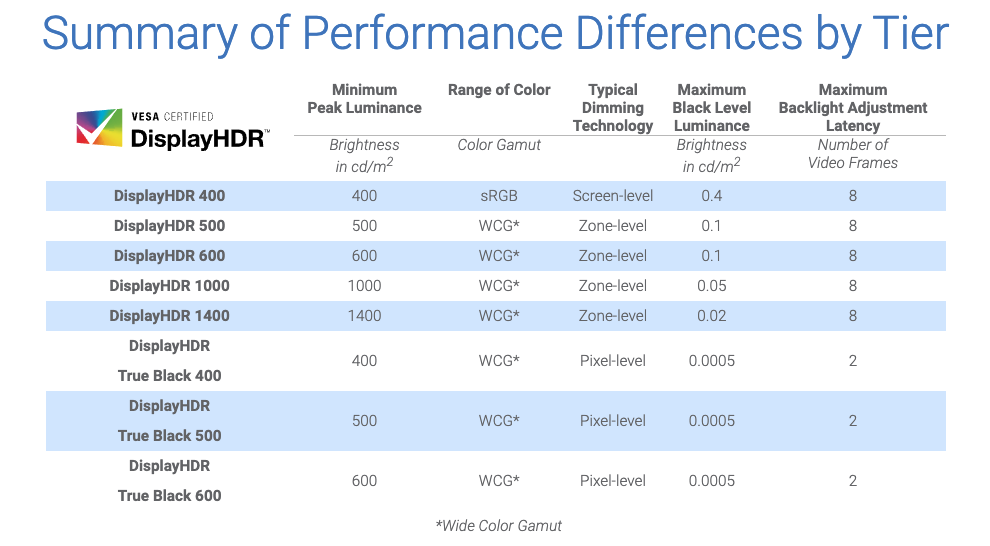
The VESA Certified DisplayHDR defines the fully open standard specifying HDR quality, including luminance, color gamut, bit depth, and rise time. High Dynamic Range (HDR) displays deliver better contrast and color accuracy, as well as more vibrant colors, compared to Standard Dynamic Range (SDR) displays. As a result, HDR is gaining interest for a wide range of applications, including movie viewing, gaming, and creation of photo and video content.
The DisplayHDR and DisplayHDR True Black specifications assure that HDR content will appear vivid and life-like, with accurate color and contrast reproduction. Consumers should look for VESA tested and certified DisplayHDR or DisplayHDR True Black products. VESA’s multi-tiered performance ratings and logo system for DisplayHDR and DisplayHDR True Black represent visible, meaningful performance levels relevant to specific applications and usage scenarios.
HDR10 is a display standard from VESA, prescribing 10 bits per channel color palette and a wider color gamut, as compared to the older 8bit/channel. HDR10+ adds dynamic brightness/contrast.
Monitor Calibration
You might have heard of the sRGB color space. That thing shows all possible colors (chroma only), with washed out colors in the center and the more saturated colors towards the edges. While other color spaces contain more vibrant colors, sRGB is the standard for almost everything.
Another important thing is gamma. It’s a bit complicated, but in short, it decides the brightness of colors. The higher the gamma, the darker the colors are and the lower the gamma, the brighter and more washed out colors look.
higher gamma looks more contrasty. White and black are still the same, but the grays, especially towards the middle (of the spectrum) are darkened. The standard gamma is 2.2.
In addition to that, there’s also contrast ratio, which is the difference between the whitest white and the blackest black and the brightness, which is measured in nits (aka cd/m2). Most displays have 1000:1 contrast ratio, which is not enough for dark room use (blacks look like dark gray) and they have the brightness of at least 200 nits. While some displays have max brightness that exceeds 400 nits, the standard used by professionals is much lower (though mostly because it’s meant for dark rooms).
We now have a basic understanding of the things that control how displays look. It’s time to look at how these things are combined in different standards used for different things.
sRGB – Used in web
Gamma – ≈2.2
Color Temp. – 6500K
Brightness – 80 nits
Rec. 709 (same color space as sRGB) – Used in movies and TV
Gamma – 2.4 (derived from ≈2.35 gamma of most CRTs)
Color Temp. – 6500K
Brightness – 100 nits
DCI-P3 – Used in cinemas
Gamma – 2.6 (I think to make the image projected on the screen more contrasty)
Color Temp. – 6300K
Brightness – 48 nits
Display P3 (same color space as DCI-P3) – Used in photography (?)
Gamma – 2.2
Color Temp. – 6500K
Brightness – Not sure
Adobe RGB – Used in printing
Gamma – 2.2
Color Temp. – 6500K
Brightness – 160 nits
Rec. 2020/2100 (meant to be the largest color spaces displays can show) – Used in HDR
Gamma – 2.4?
Color Temp. – 6500K
Brightness – ???
Most monitors are calibrated for sRGB in the factory. While some displays support wider color gamut, all of them target 2.2 gamma. This is what I meant when I said that you’re watching movies wrong. They are mastered in Rec. 709 with 2.4 gamma. If you want to watch them as intended, you need to set your display’s gamma to 2.4, either on the monitor or in the OS. There’s also BT.1886 gamma, which is almost the same as 2.4, but with slightly brighter dark colors I think. A lot of displays can’t show really dark shades due to low contrast ratio, which results in black crush at 2.4 gamma. From what I gather, BT.1886 is meant to brighten those shades to make things more visible, but it looks the same as 2.4 on an OLED because it’s dependent on the contrast ratio of the display.
A lot of monitors don’t have different gamma settings and when they do, they often aren’t calibrated to specific standards. Professional monitors should be good at it though. I can say that Dell’s office monitors have near perfect sRGB and Rec. 709 calibrations with proper gamma. Though their gaming monitors sometimes don’t, if they even have those modes. You can test your display’s gamma here.
There is also the issue of oversaturation. A lot of monitors nowadays use wide color gamut, which is great, except a lot of them don’t have modes for different color spaces, so they end up oversaturating stuff meant for sRGB and Rec. 709. There are ways to clamp the gamut, but ideally the monitor should provide that ability. You could use ICC profiles for colors to be displayed correctly even in wide gamut mode, but they aren’t supported everywhere.
Then there’s color temperature. Though less important, it affects color accuracy and you want it to be 6500K ideally. Although, weirdly enough, the standard in Japan (and maybe even the whole Asia), at least up until 2011, seems to have been 9300K, which is too bluish (it’s actually the native color temperature of a lot of OLED panels). This means that if you watch anime made before 2011, it’s probably meant to be shown at 9300K (with either 1.9 or 2.2 gamma. Not sure. Maybe even 2.4). Although, some studios still mastered stuff in 6500K while displaying it at 9300K. It either wasn’t a strict standard or people were just confused about it. This also means that if you play Japanese games released before 2011, you might want to play them at 9300K temperature for accuracy, since that’s what they were most likely made at. You’ll have to do more research on this whole thing. Don’t just take my word for it.
If you want to be closest to the mastering settings, you should set your monitor’s brightness to 100 nits, which may be too dark for some people. Even in HDR, which allows darker blacks and much brighter whites combined with wide gamut, max brightness rarely exceeds 100 nits. HDR is basically SDR with expanded brightness and gamut when the creator decides to use them. Although, it seems to be using gamma in a different way. No idea what’s going on there.
Here are Netflix’s recommended settings for creating (and viewing) content.
I should also mention judder. Movies are shot at 24fps (23.976 to be exact). When displaying 24fps at 60hz, some frames are shown two times and others three times. This creates unwanted judder that some people are actually used to without realizing it. If you have a high refresh rate monitor, you can set it to a refresh rate that evenly divides into 24, such as 120, 144 or 240 (I recommend 120 or 240 so that 60fps is also displayed correctly). Alternatively, if you watch movies in video players on desktop, you could use madVR, which has a “smooth motion” setting that corrects the judder by blending frames without introducing the soap opera effect. It also allows you to change the gamma, assuming your display is calibrated to 2.2.
There’s also stutter from fast response times that is an issue on some gaming monitors and OLED displays that no one talks about. Fast response times make harsh transitions between frames at lower framerates more visible and stuff like panning shots in movies can end up looking like a flickering mess. There are times when slow response times are actually good and that’s why gaming monitors include slow overdrive settings, sometimes titled “Picture Quality”. OLED stutter is a huge issue on TVs and there are dedicated settings to remove it. There are no such settings on OLED monitors yet. Some people are not bothered by this stutter at all and actually prefer it.
In addition to all that, movies might be better watched on ultrawide monitors, since some of them were meant to be watched on wider screens without black bars, so there’s that. There’s also color accuracy that we mustn’t forget. Delta E of less than 3 is recommended. You could also experiment with motion blur reduction to get the CRT feel (the motion blur of 24fps turns into quintuple images at 120hz) or even make it look like an old cinema projector at 72hz and 48hz if your display supports it. You could also argue that the only right way to watch movies is in HDR. And I’m talking about real HDR.
What did we get from all this? That you might be watching movies with wrong gamma, in the wrong color space and possibly with judder. If you want to watch SDR movies how they were intended, you should set the display’s gamma to 2.4 and use the sRGB/Rec. 709 color space.
Warranties and Protection Plans
When you’re spending upwards of $5000 for a monitor, you might wonder if protection plans are even worth it.
I personally choose to get them. Make sure whichever plan you buy honors burn in, especially if you end up with an OLED monitor. You’ll also want to make sure backlight bleed and dead pixels – even just 1 – are covered.
As far as I know, Best Buy is one such company that honors that defect. MicroCenter will take a warranty return and provide a gift card on the spot for what you paid. Getting an extended warranty through these companies will make your process easier than dealing directly with manufacturers most of the time.
In Summary
It is tough to figure out the best external monitor for MacBook Pro you need, along with information overload and fatigue in sorting through the selection. Here are some quick breakdowns to help you choose:
Monitors with the best Power Delivery
- 96W – Apple Pro Display XDR
- 90W – Dell UltraSharp U4320Q
- 85W – LG Ultrafine 34BK95U-W
Monitors with Mini LEDs
Brightest Monitors
- 1600 nits HDR – Asus ProArt PA32UCG
- 1000 nits HDR – Apple Pro Display XDR
- 1000 nits HDR – Dell UltraSharp UP3221Q
Further Reading for Your MacBook Pro
Updates:
September 16 2023: Added Monitor Calibration section.
- About the Author
- Latest Posts
I strive to paint vivid landscapes with my words, bringing the magic of far-off lands and enchanting aromas to life for my readers. Combine passion for exploration and the art of gastronomy in an unending ode to the senses. When I’m not traversing the globe, I find solace in the earth beneath my fingertips, tending to my garden and working on projects around my verdant oasis. MK Library serves as a beacon, guiding fellow travelers and homebodies alike to embrace sustainability, nurturing both our planet and our souls with purpose. Full Bio.


