As I delved into the world of Kombucha brewing, I found myself in need of a comprehensive Kombucha brewing equipment list. At first, I wanted to start small with only the essential equipment. After I’ve learned the basics, I want to work my way up to more advanced brewing techniques and produce high-quality brews.
There is a lot of cool and fairly inexpensive equipment to get started. Of course, I didn’t want to buy it all at once and be overwhelmed. I’ve spent many hours researching each individual component required for Kombucha. Here are the tools and ingredients you’ll need to make your first batch of kombucha!
This guide assumes you already have basic knowledge of Kombucha terminology – I won’t be explaining all the terms here.
Table of Contents
Basic Kombucha Brewing Equipment
These are the basic components you’ll need to get started brewing! A conservative price to purchase the basic brewing equipment would be about $100. Once the initial equipment is purchased, ingredients will run you around $3 per gallon. As a Kombucha fan, you will recoup your initial cost VERY quickly.
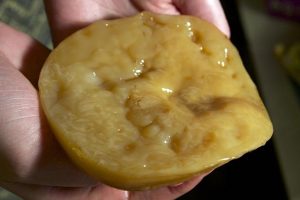
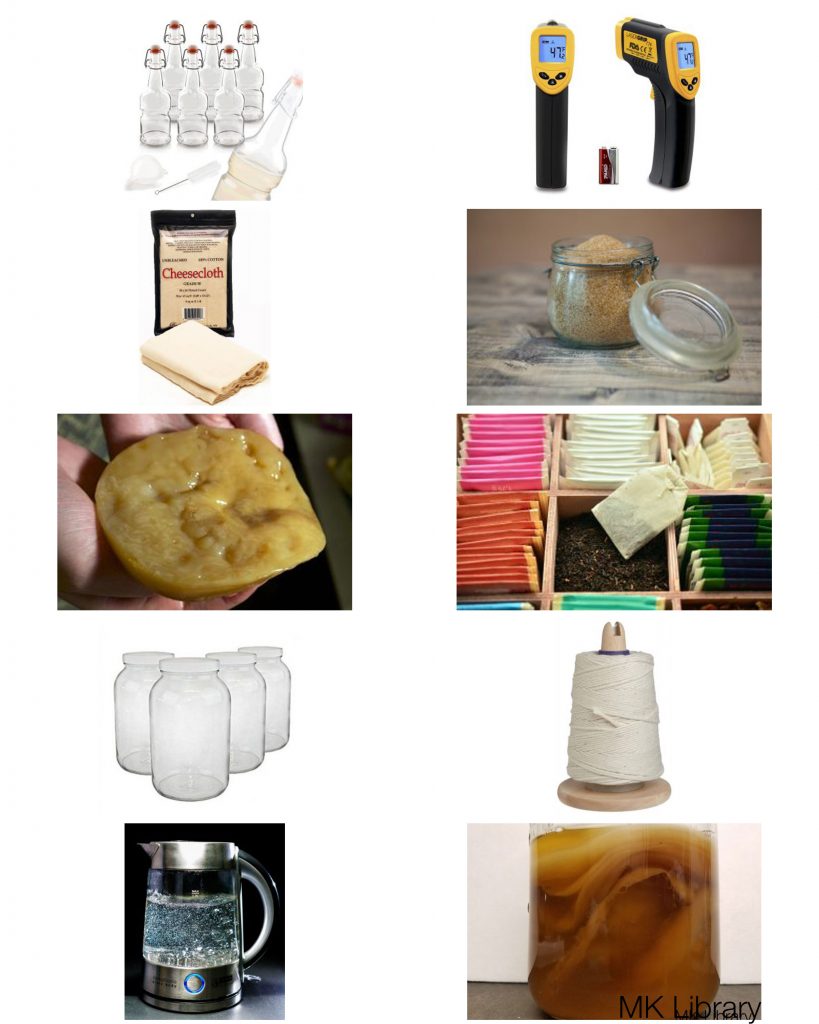
Kombucha Starter – If you have a friend also brewing Kombucha, getting one of their SCOBY(Symbiotic Culture of Bacteria and Yeast) babies is preferential to buying one online. If you must, this live culture is a good option.
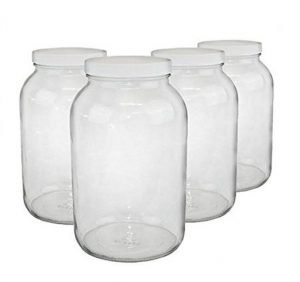
Mason Jars – Depending on how much you want to brew, you may either want a gallon jar or larger. The bigger the jar, the faster the fermentation process occurs. Choose glass made for fermentation and plastic lids. Metal lids are a no-go, as they will add acidity and start to rust from the pH level of your Kombucha. I’ve found this set of four 1-gallon jars to be the best deal. There are a couple other fermented beverages which shy away from metal lids and containers as well.
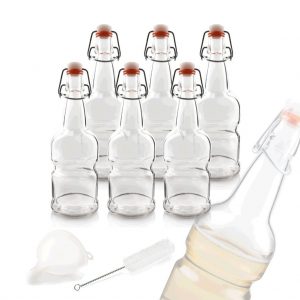
Glass Bottles – Once your Kombucha has finished fermenting in the mason jars, you’ll want a set of nice bottles that can withstand pressure while you begin work on your next batch. The set I use comes with a bottle brush to clean and a funnel. This type of bottle also has an easy capping system, which will save you from having to get additional equipment. These are called flip tops or Grolsch-types, if you’re looking for other sources to purchase.
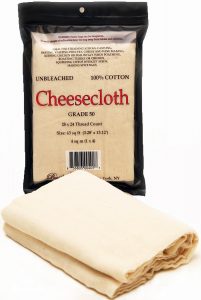
Cheesecloth – Unbleached fine is the way to go. Generally $5 at a grocery store and bleached, I found this unbleached option, which contains twice as much as what I could find locally. As a bonus, you can also use this for all of your other foodie needs. A lot of guides will say not to use cheesecloth, but if you purchase the fine grade, it will keep out fruit flies. I’m actually using a larger grade currently and haven’t experienced any problems yet.
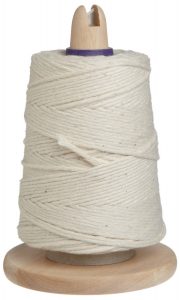
Twine – This is great for keeping the cheesecloth fit snugly onto the mason jars. Simply resting the covering on the jars can allow bugs to get in. I like to keep my kitchen neat and clean, so having a spool and blade all in one ended up being the perfect option. A bit more expensive than just a regular spool, but totally worth it. Handy for my meats, too.
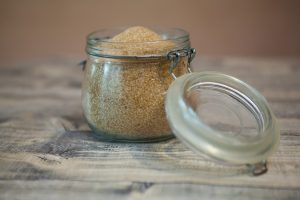
Organic Cane Sugar – Unbleached organic cane sugar is the absolute best choice in my opinion. This particular sugar has been the cheapest per pound I’ve found and usually has a 20% off coupon. White cane sugar is okay in a pinch. Some brewers have experimented with honey and alternative sugars such as agave nectar, Coconut sugar, etc. – try at your own risk, but alternative sugars with fewer nutrients may weaken or kill your SCOBY.
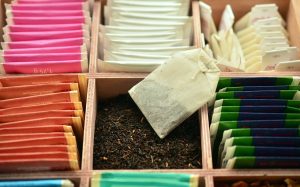
Tea – Tea is one of the more complicated Kombucha ingredients. This is where your kombucha flavor profile comes in, so there are some nuances to pay attention to when choosing tea. First, there is no difference in the effect of caffeinated or non-caffeinated tea on your kombucha. With all types of tea, opt for the organic varieties and make sure there are no oils or flavors added.
Black tea is a great first choice – as long as it is Ceylon, English Breakfast, or Darjeeling. *Avoid brewing kombucha with Earl Grey tea. Earl Grey is flavored with bergamot oil which could affect your SCOBY. Black tea leaves provide all nutrients the SCOBY needs and usually produce a bold fruity taste.
Green tea will lighten the intensity of flavors, but should be used in combination with a little bit of black tea.
Oolong tea is another good tea option if you are making Kombucha often. This will give a fruity and grassy flavor to your brew.
Red (Rooibos) tea should be used with at least 25% black tea, which will provide a nutty or earthy flavor. This is another tea not to use for the first 4 batches.
Yerba Mate and herbal tea have varied flavors and can be experimented with, as long as you are using at least 25% of black tea for nutrients. Don’t use these tea bags for the first 4 batches.
White tea can be used in combination with black, green, or oolong teas. It is not recommended to use white tea for your first 4 batches with a SCOBY, as there are not enough nutrients to sustain it. The white leaves will bring about a flowery flavor.
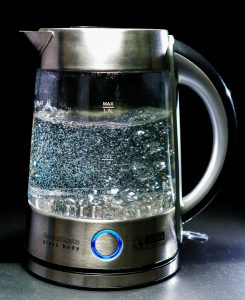
Water – If you’re not using distilled water, you’re going to either want to treat your water to remove chlorine and fluoride. Boil, charcoal filtration, faucet or whole house filtration, or reverse osmosis are all good options. Using tap or well water directly can bring in contaminants, including trace amounts of chlorine, which will kill your SCOBY.

Thermometer – Generally, you’re going to want to avoid sticking things into your brew, and using a laser thermometer will achieve this. The purpose of the thermometer is to measure the water temperature during the brewing process, which can help you achieve a better quality batch. This isn’t essential when first getting started, but comes in handy when you start to make more and more batches of kombucha. I was skeptical of this until I tried it for different teas and the flavors turned out much more vibrant. Plus, you can totally use it to read the temperature of random things for lots of fun – like your significant other’s butt. Queue the bad jokes.
The Little Things
Chances are good you have the rest of these items sitting around in your kitchen:
- Mesh strainer and fine mesh strainer
- Measuring cups
- Slotted spoon
- Timer [or phone]
- Plastic funnel
- 8-quart stainless steel pot with lid
- Stockpot
- About the Author
- Latest Posts
I strive to paint vivid landscapes with my words, bringing the magic of far-off lands and enchanting aromas to life for my readers. Combine passion for exploration and the art of gastronomy in an unending ode to the senses. When I’m not traversing the globe, I find solace in the earth beneath my fingertips, tending to my garden and working on projects around my verdant oasis. MK Library serves as a beacon, guiding fellow travelers and homebodies alike to embrace sustainability, nurturing both our planet and our souls with purpose. Full Bio.


